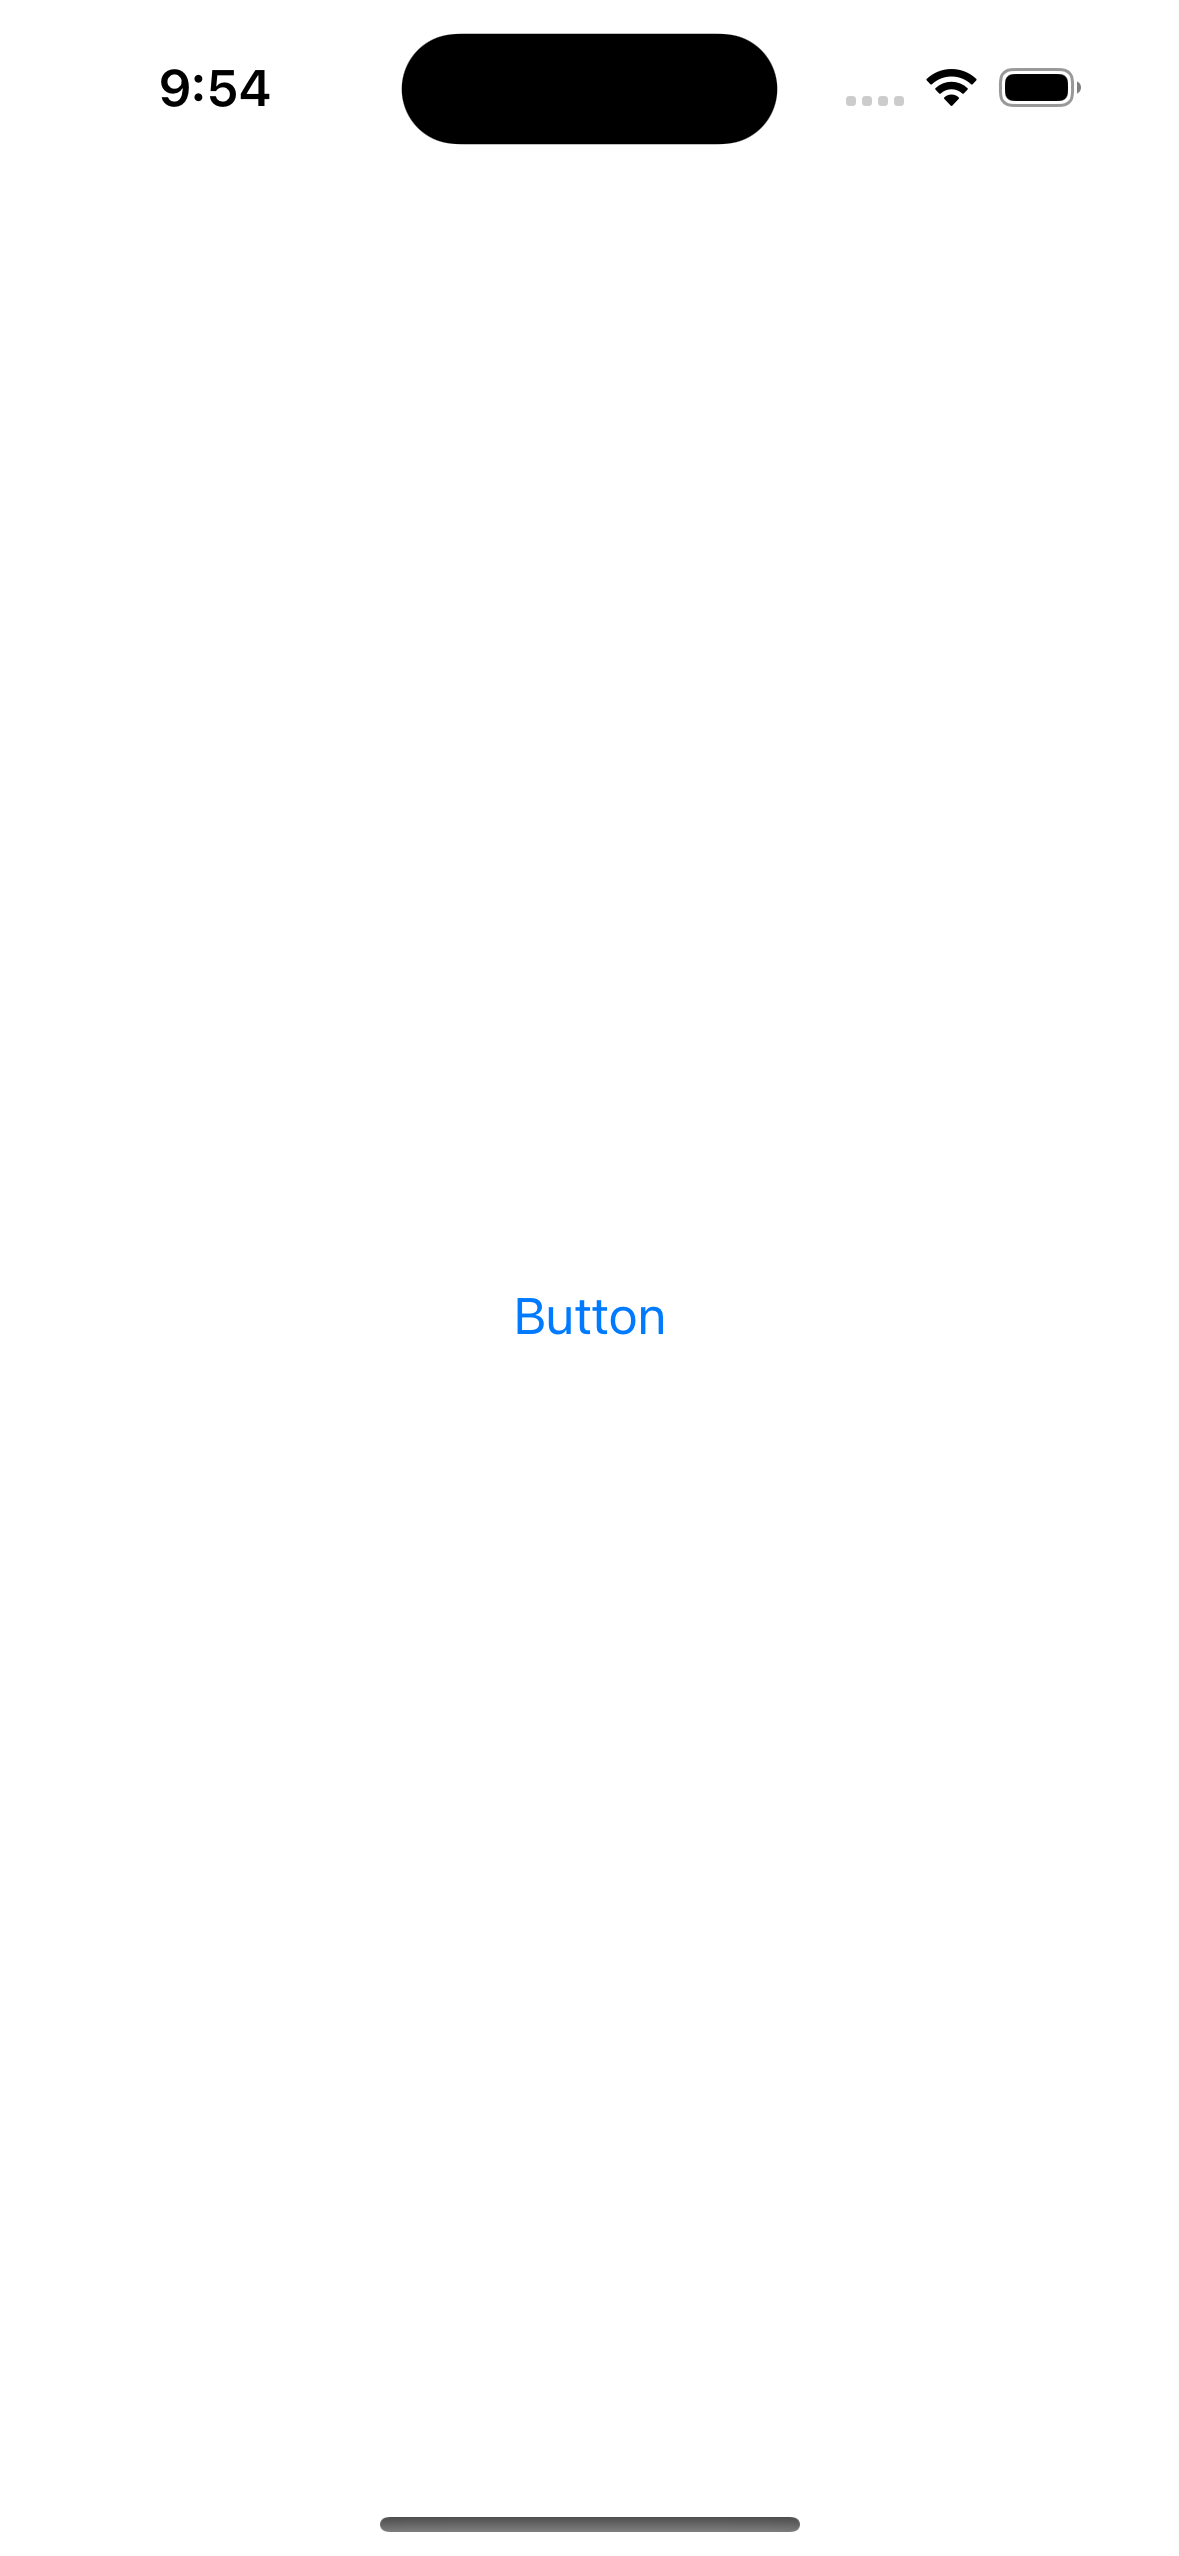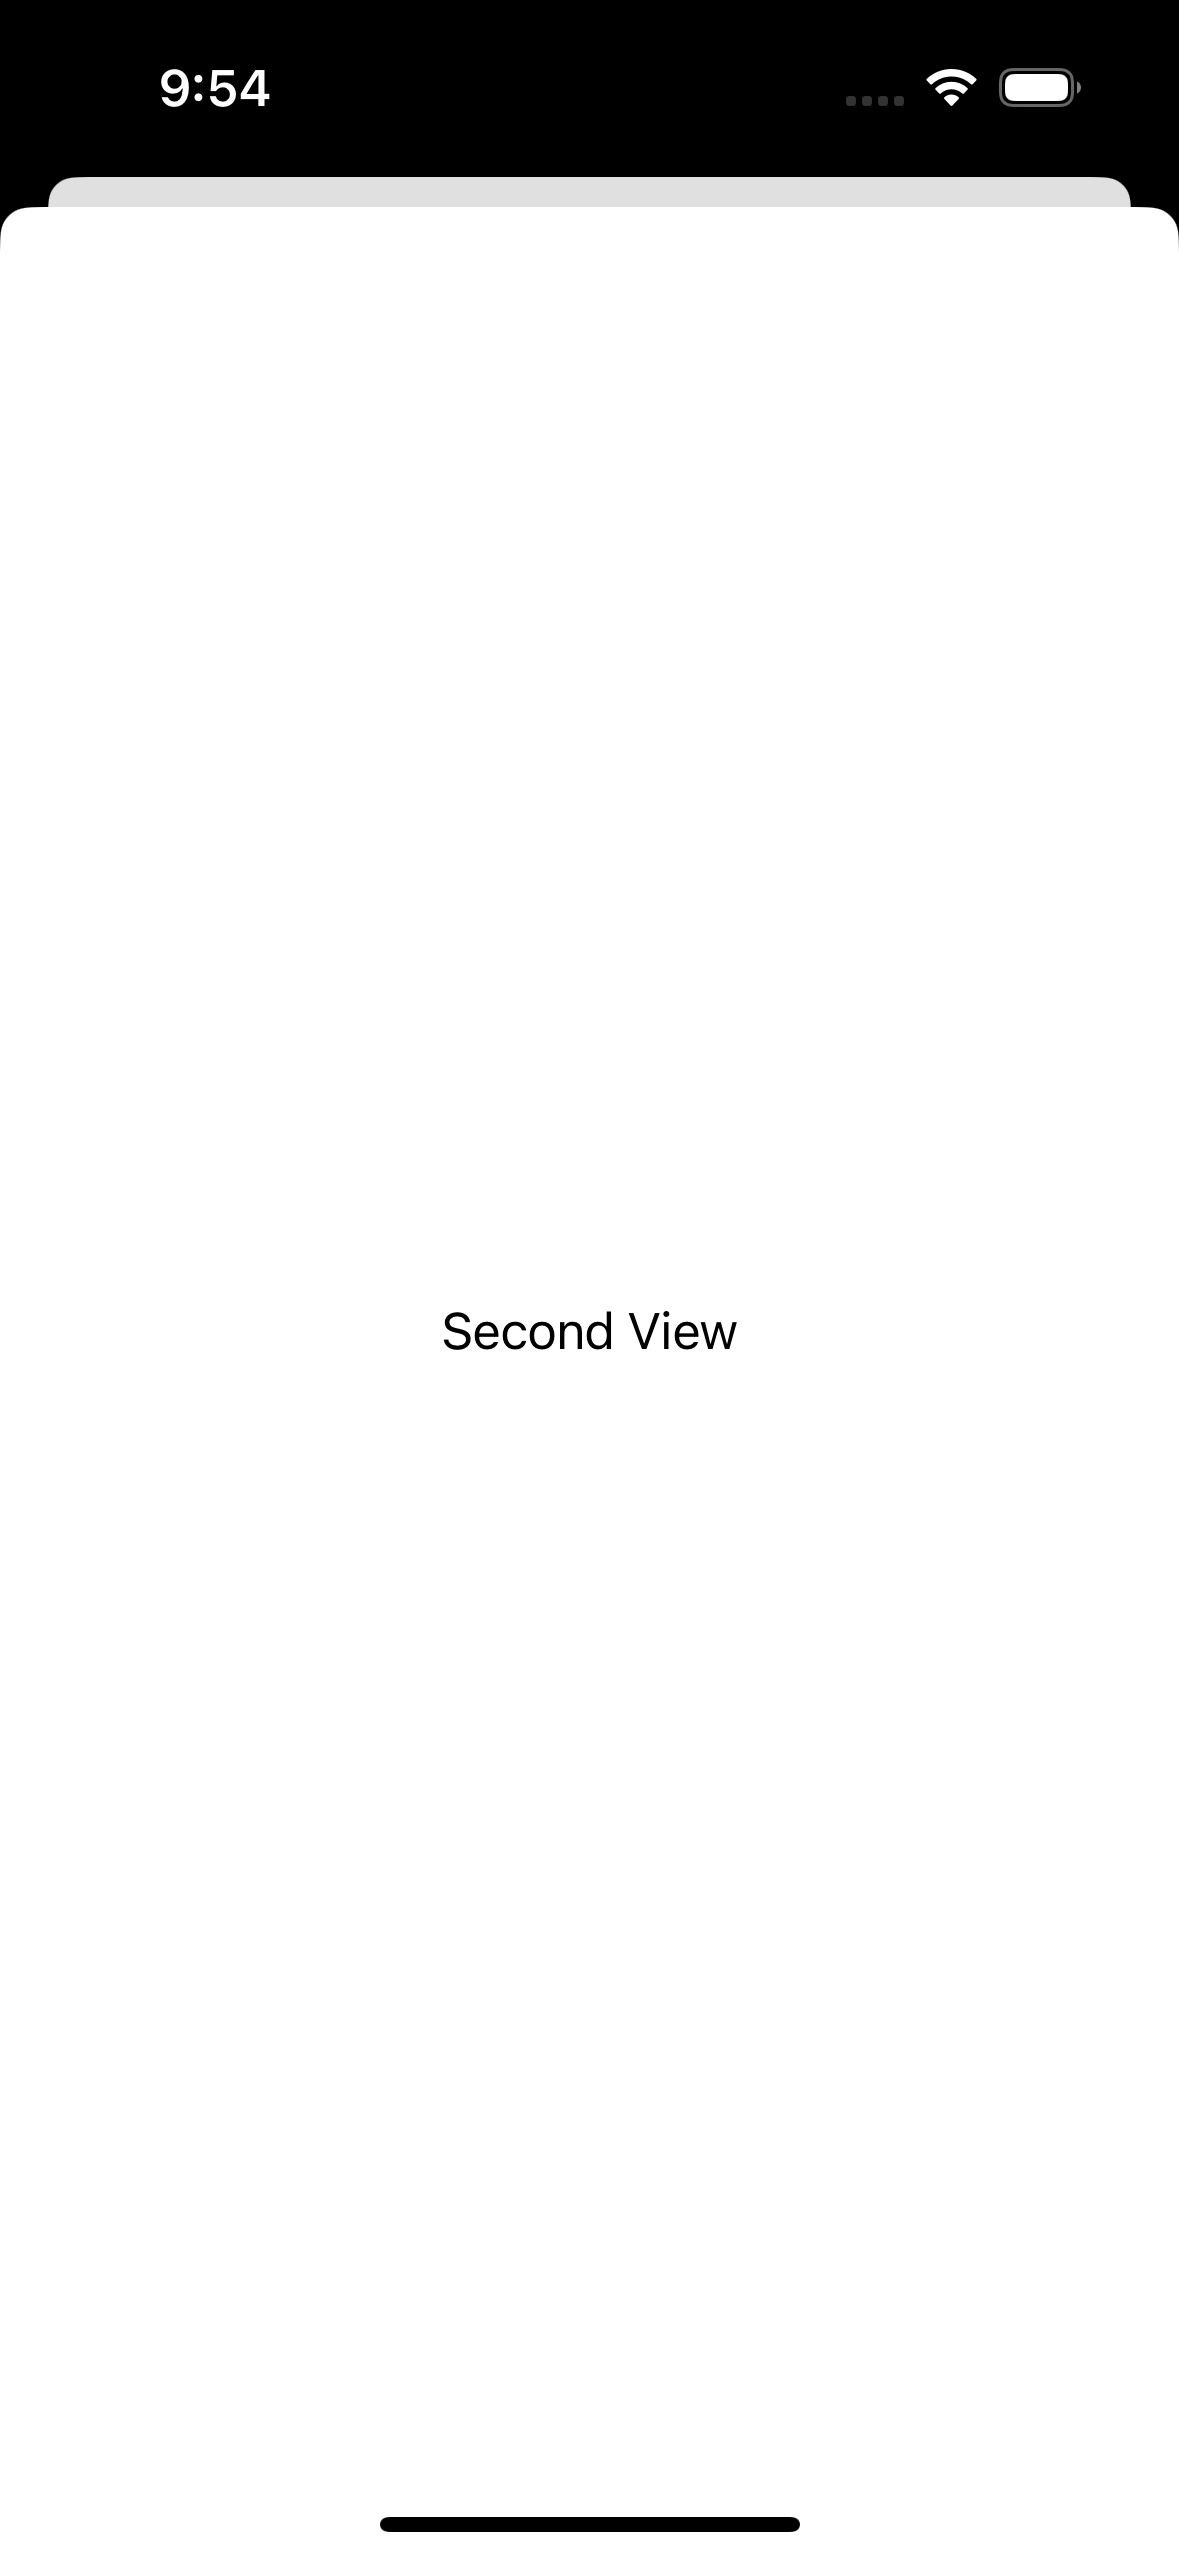
Modal 는 상호 작용을 제공하는 별도의 보기로 콘텐츠를 표시하는 뷰 입니다.
가장 대표적인 Modal 를 사용하는 방법은 다음과 같습니다. 아래 메서드들의 공통점은 특정 값을 지정하여 해당 값이 변했을 경우 Modal이 나타나게 합니다.
func sheet(isPresented: Binding, onDismiss: Closure, content: Closure)
Presents a sheet when a binding to a Boolean value that you provide is true.
func sheet(item: Binding, onDismiss: Closure, content: Closure)
Presents a sheet using the given item as a data source for the sheet’s content.
func fullScreenCover(isPresented: Binding, onDismiss: Closure, content: Closure)
Presents a modal view that covers as much of the screen as possible when binding to a Boolean value you provide is true.
func fullScreenCover(item: Binding, onDismiss: Closure, content: Closure)
Presents a modal view that covers as much of the screen as possible using the binding you provide as a data source for the sheet’s content.
Modal 를 사용하는데 주의할 점
- Modal 사용의 명확한 이점이 있을 때에만 사용할 것: 사용자가 집중하거나 중요한 영향을 미치는 선택 (예를들어 로그인, 회원가입, 개인정보 입력 등)을 할 경우에만 사용되어야 합니다.
- Modal 에서의 작업은 간단하고 간결하게 유지할 것: Modal 작업이 너무 복잡하면 사용자는 Modal View 에 진입할 때 기존 작업을 잊을 수 있습니다. 특히 Modal View 가 이전 Context를 가릴 때 이러한 문제가 발생합니다.
- 앱 내의 앱처럼 느껴지지 않도록 주의할 것: Modal 작업 내에서 뷰의 계층 구조를 제시하는 것은 사용자가 어떻게 Modal View 를 닫을지 혼동을 일으킬 수 있습니다.
- 심도 있는 콘텐츠나 복잡한 작업에는 Full Screen Modal 사용을 고려할 것: Full Screen Modal은 주의를 산만하게 하지 않도 비디오, 사진, 카메라 뷰와 같은 것을 제공하거나 문서를 편집하거나 사진을 편집하는 등의 다단계 작업을 지원하기에 적합합니다.
- Modal View를 dismiss하는 명확한 방법을 제공할 것: 모든 플랫폼에서 사용자가 이미 알고 있는 플랫폼의 규칙을 따르는 것이 일반적으로 잘 작동합니다.
- 필요한 경우 Modal View 를 닫기 전에 확인을 얻는 방법을 제공할 것: Modal View 를 닫을 때 사용자가 생성한 콘텐츠의 손실이 발생할 수 있는 경우, 상황을 설명하고 문제를 해결할 수 있는 방법을 제시해야 합니다.
- Modal View 의 작업을 쉽게 식별할 수 있도록 할 것: 사용자가 Modal VIew로 이동하면 이전 컨텍스트로 즉시 돌아가지 않을 수 있습니다. Modal View의 작업을 나타내는 제목이나 작업을 설명하거나 안내하는 추가 텍스트를 제공하여 사용자가 앱 내에서 유지할 수 있도록 도움을 줄 수 있습니다.
- 다른 Modal View 를 제시하기 전에 현재 Modal View를 해제할 수 있도록 할 것: 여러 Modal View 가 동시에 표시되면 시각적으로 혼란스러울 수 있습니다.
다음은 간단한 예제 코드입니다.
struct ContentView: View {
    @State var pressed = false
    var body: some View {
        Button(action: {
            pressed.toggle()
        }, label: {
            Text("Button")
        })
        .sheet(isPresented: $pressed, content: {
            Text("Second View")
        })
    }
}

다음으로는 fullScreenCover 를 사용하여 화면 전체를 Modal 뷰로 채운 예제입니다. presentationBackground 를 통해서 modal 의 배경 색을 바꿀 수 있습니다.
struct ContentView: View {
    @State var pressed = false
    var body: some View {
        Button(action: {
            pressed.toggle()
        }, label: {
            Text("Button")
        })
        .fullScreenCover(isPresented: $pressed, content: {
            Text("abc")
                .presentationBackground(.thinMaterial)
        })
    }
}

다음으로는 presentationDetents 를 사용하여 Modal View 의 크기를 설정할 수 있습니다. 기본적으로 제공하는 크기는 .large, .medium 이 있으며 .fraction 또는 .height 를 통해서 크기를 직접 지정할수도 있습니다.
struct ContentView: View {
    @State var pressed = false
    @State var alert = false
    var body: some View {
        Button(action: {
            pressed.toggle()
        }, label: {
            Text("Button")
        })
        .sheet(isPresented: $pressed, content: {
            Text("Second View")
                .presentationDetents([.medium]) // .fraction(0.1), .height(700)
        })
    }
}


추가로 드래그를 통해 사용자가 sheet 를 지우지 못하게 하려면 다음과 같은 메서드를 사용할 수 있습니다.
.interactiveDismissDisabled()
'SwiftUI' 카테고리의 다른 글
| Confirmation Dialog - 하단 메뉴 (0) | 2023.12.19 |
|---|---|
| Alert View (0) | 2023.12.19 |
| Custom Navigation Button (0) | 2023.12.18 |
| completion, @escaping (0) | 2023.12.15 |
| MVVM Design Pattern (0) | 2023.12.15 |
